There’s no need to spend a fortune on a fire pit when you can build one yourself with minimal tools and materials. In this guide, we’ll show you how to create a simple yet effective fire pit using natural materials and traditional wood-burning techniques. This project is perfect for anyone looking to add a cozy outdoor feature on a small budget.
Here’s how to build your own DIY backyard fire pit without using metal bowls, planters, or gel fuel canisters.
Materials You’ll Need:
- Firebricks or heat-resistant stones
- Gravel or sand
- Shovel
- A level
- Firewood (logs and kindling)
- Measuring tape or string
- Gloves and safety goggles
Step 1: Choose the Perfect Location
Start by selecting a safe spot for your fire pit. The area should be clear of any flammable materials and trees with low-hanging branches. Ideally, your fire pit should be at least 10-15 feet away from your house or any other structures, including fences and furniture.
Tip: Make sure to check local regulations regarding outdoor fire pits. Some areas may have restrictions on fire sizes or requirements for safety precautions.
Step 2: Plan the Size and Shape of the Pit
Once you’ve chosen your spot, decide how large you want your fire pit to be. Most backyard fire pits are about 3 to 4 feet in diameter, providing plenty of space for a small fire. Use a measuring tape or string to mark out a circle where the fire pit will be.
How to do it: Drive a small stake into the center of the area, tie a string to it, and stretch the string out to your desired radius. Use the string as a guide while you mark the edge of the circle on the ground with chalk, flour, or even a garden hose.
Step 3: Dig the Pit
Now that your fire pit area is marked, it’s time to dig. Using a shovel, dig out the inside of the circle to a depth of about 6-8 inches. This will create a secure base for your fire pit and ensure it’s safely embedded in the ground.
Tip: Keep the base of the pit level. Use a level tool to make sure the surface is even all around.
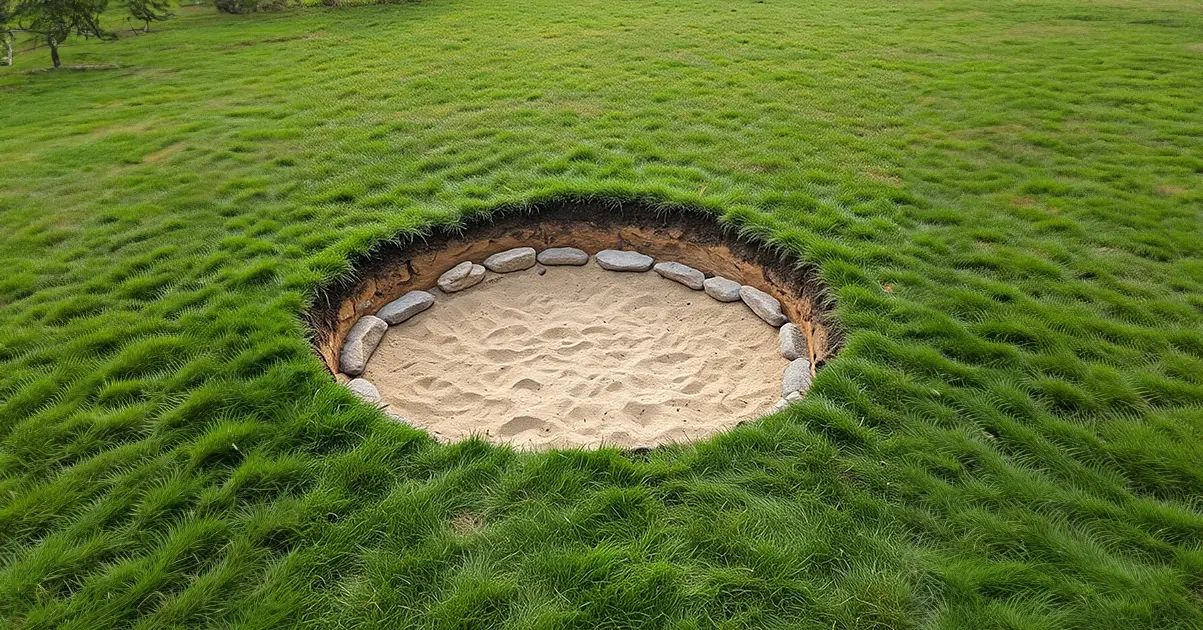
Step 4: Build the Outer Wall with Stones or Firebricks
Next, you’ll want to create the walls of your fire pit. You can use natural stones or firebricks, both of which are heat-resistant and affordable. These materials will form the barrier that contains your fire.
How to do it: Begin placing the stones or firebricks in a circular pattern around the edge of your dug-out area. You can stack them in one or two layers, depending on how deep you want the pit to be. For a sturdier structure, stagger the bricks or stones like you would when building a wall, so that each layer overlaps the joints of the layer below.
Step 5: Add a Gravel or Sand Base
To help with drainage and heat insulation, you’ll need to add a layer of gravel or sand at the bottom of the fire pit. This layer will also prevent the fire from sitting directly on the soil, which can retain moisture.
How to do it: Pour a few inches of gravel or sand evenly across the bottom of the pit. Use your shovel to spread it around until you have a flat, solid surface. This layer should be thick enough to keep the fire off the ground while allowing proper drainage.
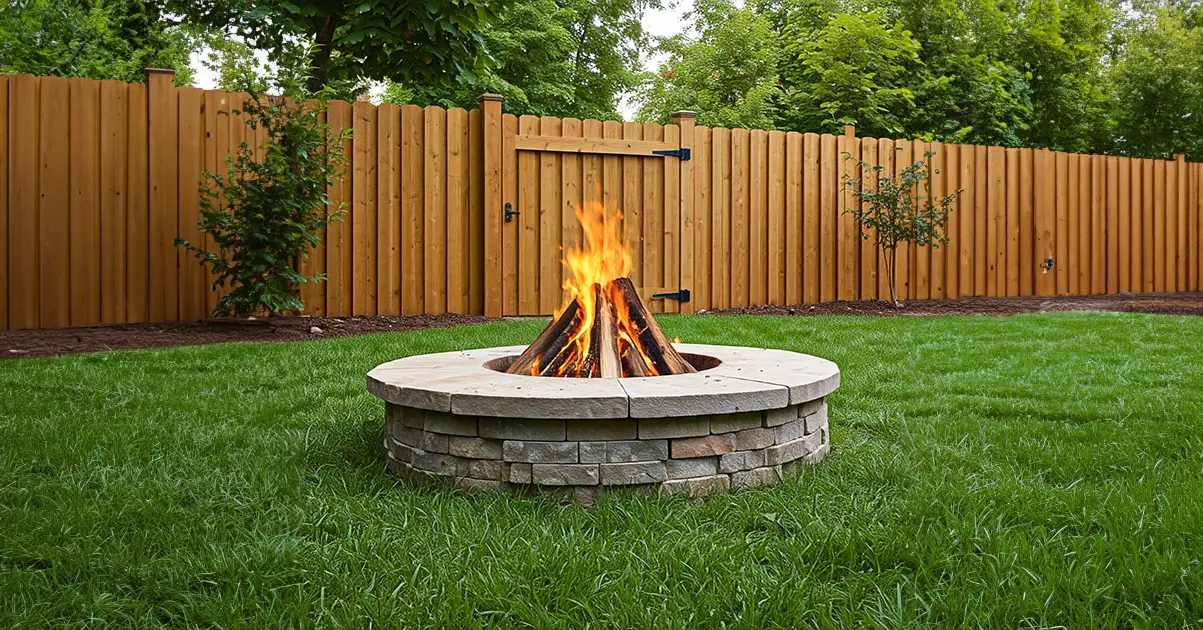
Step 6: Stack the Firewood
With your fire pit constructed, it’s time to prepare your firewood. Choose seasoned hardwood logs for the best burn. Softwoods like pine can burn too quickly and create a lot of smoke, so try to avoid using them.
How to do it: Stack small pieces of kindling or twigs in the center of the pit in a crisscross pattern. Place larger logs around the kindling in a pyramid shape, leaving enough space between them for airflow. Proper stacking ensures that the fire will burn efficiently and evenly.
Step 7: Light the Fire and Enjoy
Once your wood is stacked and ready, you can safely light your fire. Start by igniting the kindling and let the fire grow slowly, adding more logs as necessary. Always have a bucket of water, a fire extinguisher, or a pile of sand nearby in case you need to extinguish the fire quickly.
Safety tip: Never leave the fire unattended, and be sure it’s fully extinguished before you leave the area.
Additional Tips for Your DIY Fire Pit:
- Regular Maintenance: Remove ash and debris after each use to keep your fire pit clean and ready for the next fire.
- Wind Protection: Consider placing your fire pit in an area shielded from the wind or building a small windbreak wall with stones or bricks.
- Seating: Create a simple seating area around your fire pit using logs, stones, or DIY wooden benches for a rustic, inviting atmosphere.
Final Thoughts
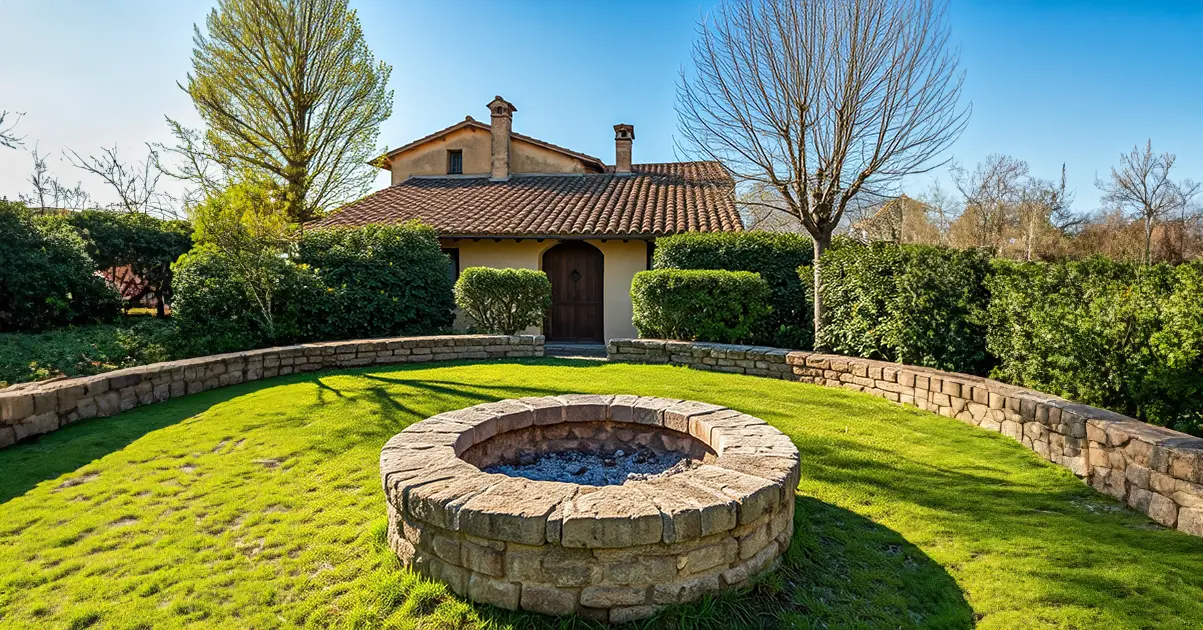
Building a DIY fire pit doesn’t require fancy equipment or materials. With just a few basic tools and natural resources, you can create a functional and beautiful fire pit that will bring warmth and charm to your backyard. Whether you’re hosting gatherings or enjoying a quiet evening, this fire pit will quickly become a favorite feature of your outdoor space.
Gather some firewood, invite friends and family, and enjoy your new backyard fire pit!